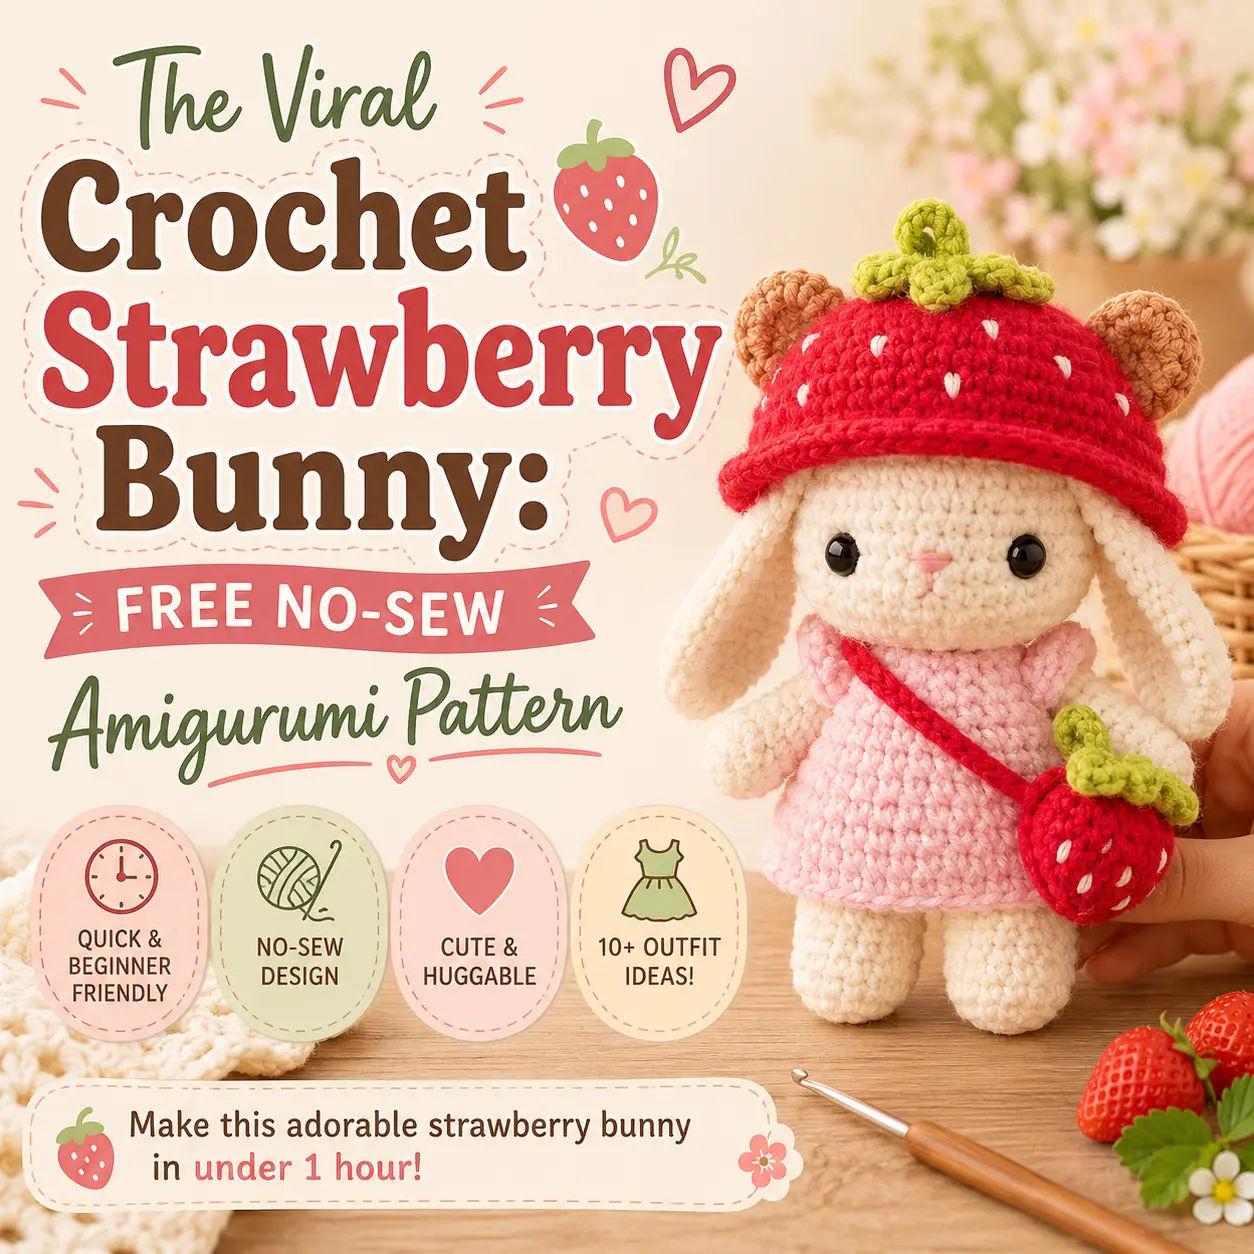
If you have spent any time on craft TikTok or Pinterest lately, you know that food-animal mashups are taking over the fiber art world. Meet the Crochet Strawberry Bunny—an adorable, squishy companion disguised as a sweet garden berry!
The best part about this make? Zero sewing required. The ears, feet, and berry calyx leaves are crocheted seamlessly into the body as you go, so you won’t have to spend time sewing tiny pieces together at the end. Grab your chunky plush yarn and let’s whip one up in under 45 minutes!
Materials You’ll Need
- Plush Chunky Yarn (#6):
- Strawberry Red (Main Body)
- Mint or Sage Green (Leaves / Stem)
- Cream or Soft Pink (Muzzle & Ear Details)
- Crochet Hook: 5.0 mm (US H/8).
- Safety Eyes: 12 mm black glitter or solid safety eyes.
- Stuffing: High-loft polyester fiberfill.
- Embroidery Floss: Small amount of yellow or white thread for embroidered strawberry seeds.
- Notions: Stitch marker, yarn needle, sharp scissors.
Pattern Notes & Abbreviations (US Terms)
- Skill Level: Advanced Beginner.
- Finished Size: Approximately 6 inches (15 cm) tall including ears.
- Construction: Worked in continuous rounds from the top down.
- Abbreviations:
- MR: Magic Ring
- SC: Single Crochet
- HDC: Half Double Crochet
- DC: Double Crochet
- INC: Increase (2 SC in same stitch)
- DEC: Invisible Decrease
- BOBBLE: 4-DC Bobble Stitch (for paws)
- PICOT: CH 2, SL ST into first CH
- SL ST: Slip Stitch
Step-by-Step Instructions
1. The Lop Bunny Ears (Make 2 – No Sewing Later!)
Using Red Yarn:
- Rnd 1: 6 SC in a MR (6)
- Rnd 2: (SC, INC) x 3 (9)
- Rnds 3–6: SC in each ST around (9)
- Rnd 7: (SC, DEC) x 3 (6)
- Pinch edges together and work 3 SC through both layers to close. Fasten off and set aside. (No stuffing needed).
2. The Body & Head (Worked in One Piece)
Start with Sage Green Yarn (The Strawberry Stem & Cap):
- Rnd 1: 6 SC in a MR (6)
- Rnd 2: (INC) x 6 (12)
- Rnd 3 (Leaf Rims): *(SL ST, [1 HDC, 1 DC, PICOT, 1 HDC] in next ST, SL ST in next ST)* repeat around to form 6 cute pointed strawberry leaves.
- Change to Strawberry Red Yarn behind the leaves:
- Rnd 4: Working into the back ridge of Rnd 2: (SC, INC) x 6 (18)
- Rnd 5: (2 SC, INC) x 6 (24)
- Rnd 6 (Join Ears): 6 SC, place first ear against work and crochet through ear + body together for 3 SC, 6 SC, join second ear with 3 SC, 6 SC (24)
- Rnd 7: (3 SC, INC) x 6 (30)
- Rnds 8–10: SC in each ST around (30)
- Insert safety eyes between Rnds 8 and 9, spaced 6 stitches apart.
- Rnd 11 (Arm Paws): 8 SC, BOBBLE stitch, 12 SC, BOBBLE stitch, 8 SC (30)
- Rnds 12–13: SC in each ST around (30)
- Rnd 14 (Feet): 10 SC, BOBBLE stitch, 8 SC, BOBBLE stitch, 10 SC (30)
- Firmly stuff the body with fiberfill, ensuring the cheeks puff out nicely.
- Rnd 15: (3 SC, DEC) x 6 (24)
- Rnd 16: (SC, DEC) x 8 (16)
- Rnd 17: (DEC) x 8 (8)
- Fasten off leaving a tail. Weave through front loops, cinch tightly to close, and hide thread inside.
3. The Sweet Strawberry Details
- Thread yellow or white embroidery floss onto your yarn needle.
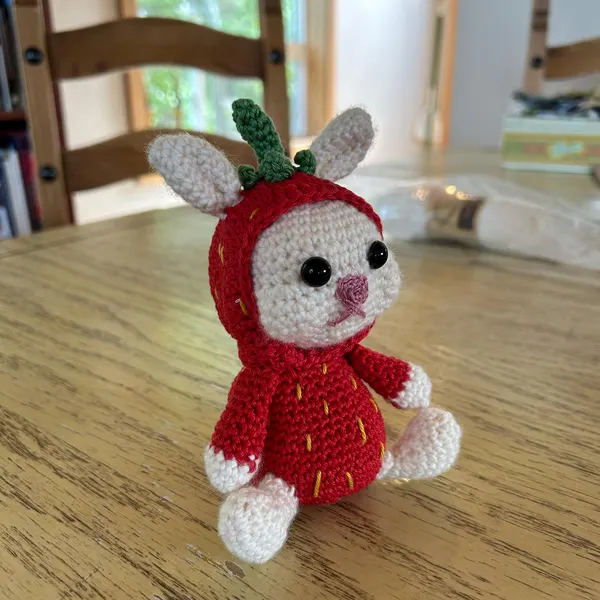
- Make 8 to 10 scattered “V” or straight dash stitches across the red tummy and back to mimic strawberry seeds.
- Optional: Add a tiny touch of pink blush beneath the eyes using makeup blush or pink yarn embroidery!
Your adorable Strawberry Bunny is ready to cuddle or gift! Don’t forget to snap a picture and tag #MyCozyHook on Instagram or Pinterest so we can feature your cozy creations!