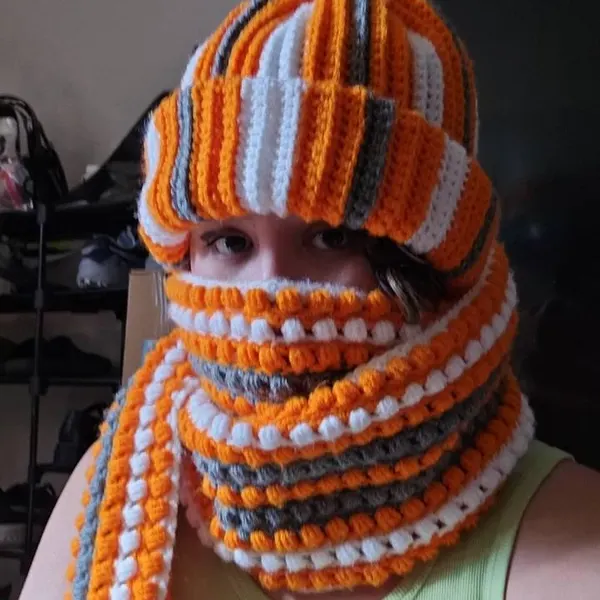
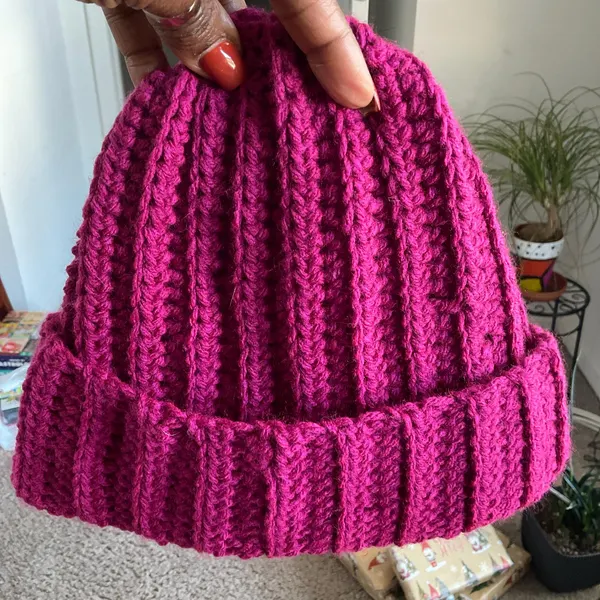
Stay warm and stylish with this chunky ribbed beanie! If you’re searching for a modern, cozy hat that looks like it was knitted in a boutique, this simple rectangle-method beanie is the ultimate weekend project.
It’s 100% beginner-friendly, works flat in simple rows, and requires zero complex shaping or decreases. You can whip one up in just an hour!
Materials & Tools Needed
- Yarn: Bulky/chunky weight (#5), or two strands of worsted weight (#4) held together (approx. 120 yards), in any soft neutral shade (oatmeal, dusty rose, or sage green)
- Crochet Hook: 6.5 mm (US K/10.5)
- Tapestry Needle: for seaming and closing the crown
- Scissors
- Optional: faux fur pom-pom or a yarn pom-pom
Pattern Details & Abbreviations (US Terms)
- Stitch Used: Single Crochet in the Back Loop Only (sc BLO)
- Ch – Chain
- Sc – Single Crochet
- BLO – Back Loop Only
- Sl st – Slip Stitch
- St(s) – Stitch(es)
Step-by-Step Instructions
1. The Foundation Chain
Chain 38 (or chain until your work measures roughly 10.5–11 inches long to allow for a folded brim).
2. The Ribbed Texture
- Row 1: Work 1 sc into the second chain from the hook and into every chain across. Ch 1, turn. (37 sts total)
- Row 2: Work 1 sc into the back loop only (BLO) of each stitch across the entire row. Ch 1, turn.
- Rows 3–40 (or until it fits your head): Repeat Row 2 until your flat ribbed rectangle measures approximately 18–19 inches when slightly stretched. Do not fasten off your working yarn.
3. Seaming the Sides
Fold the rectangle in half with the short ends aligned together. Slip stitch the two ends together through both loops across the row to create a tube. Fasten off, leaving an 18-inch long tail for closing the top.
4. Closing the Crown
- Thread the long yarn tail onto your tapestry needle.
- Weave the needle in and out of the top edge loops around the entire upper opening of the tube.
- Pull the yarn tightly like a drawstring to cinch the top completely closed. Secure with a firm knot on the inside.
- Weave in all loose ends. Fold up the bottom edge by 2 inches for a relaxed brim look, and attach a pom-pom on top if desired!
Frequently Asked Questions
Can I use a different yarn weight? Yes — this pattern is very forgiving. If you use a lighter yarn, just add a few extra rows to the ribbed rectangle to compensate for the thinner fabric.
How do I make this beanie smaller or larger? Adjust the starting chain length to change the height of the brim, and adjust the number of ribbed rows to change the circumference — just check the fit before seaming.
Why do we crochet in the back loop only? Working in the back loop only creates the stretchy, ribbed texture that makes this beanie look knitted and gives it a snug, comfortable fit.
Is this a good pattern for beginners? Absolutely — it’s worked entirely in straight rows with a single stitch, with no shaping or decreases required, making it one of the easiest hat patterns to start with.
Loved this pattern? Pin it for later, tag us in your finished beanie, and explore more quick, beginner-friendly crochet projects on My Cozy Hook!
Suggested Excerpt: Crochet an easy, modern ribbed beanie in just one hour! A beginner-friendly crochet hat pattern worked flat with basic stitches and a cozy folded brim.