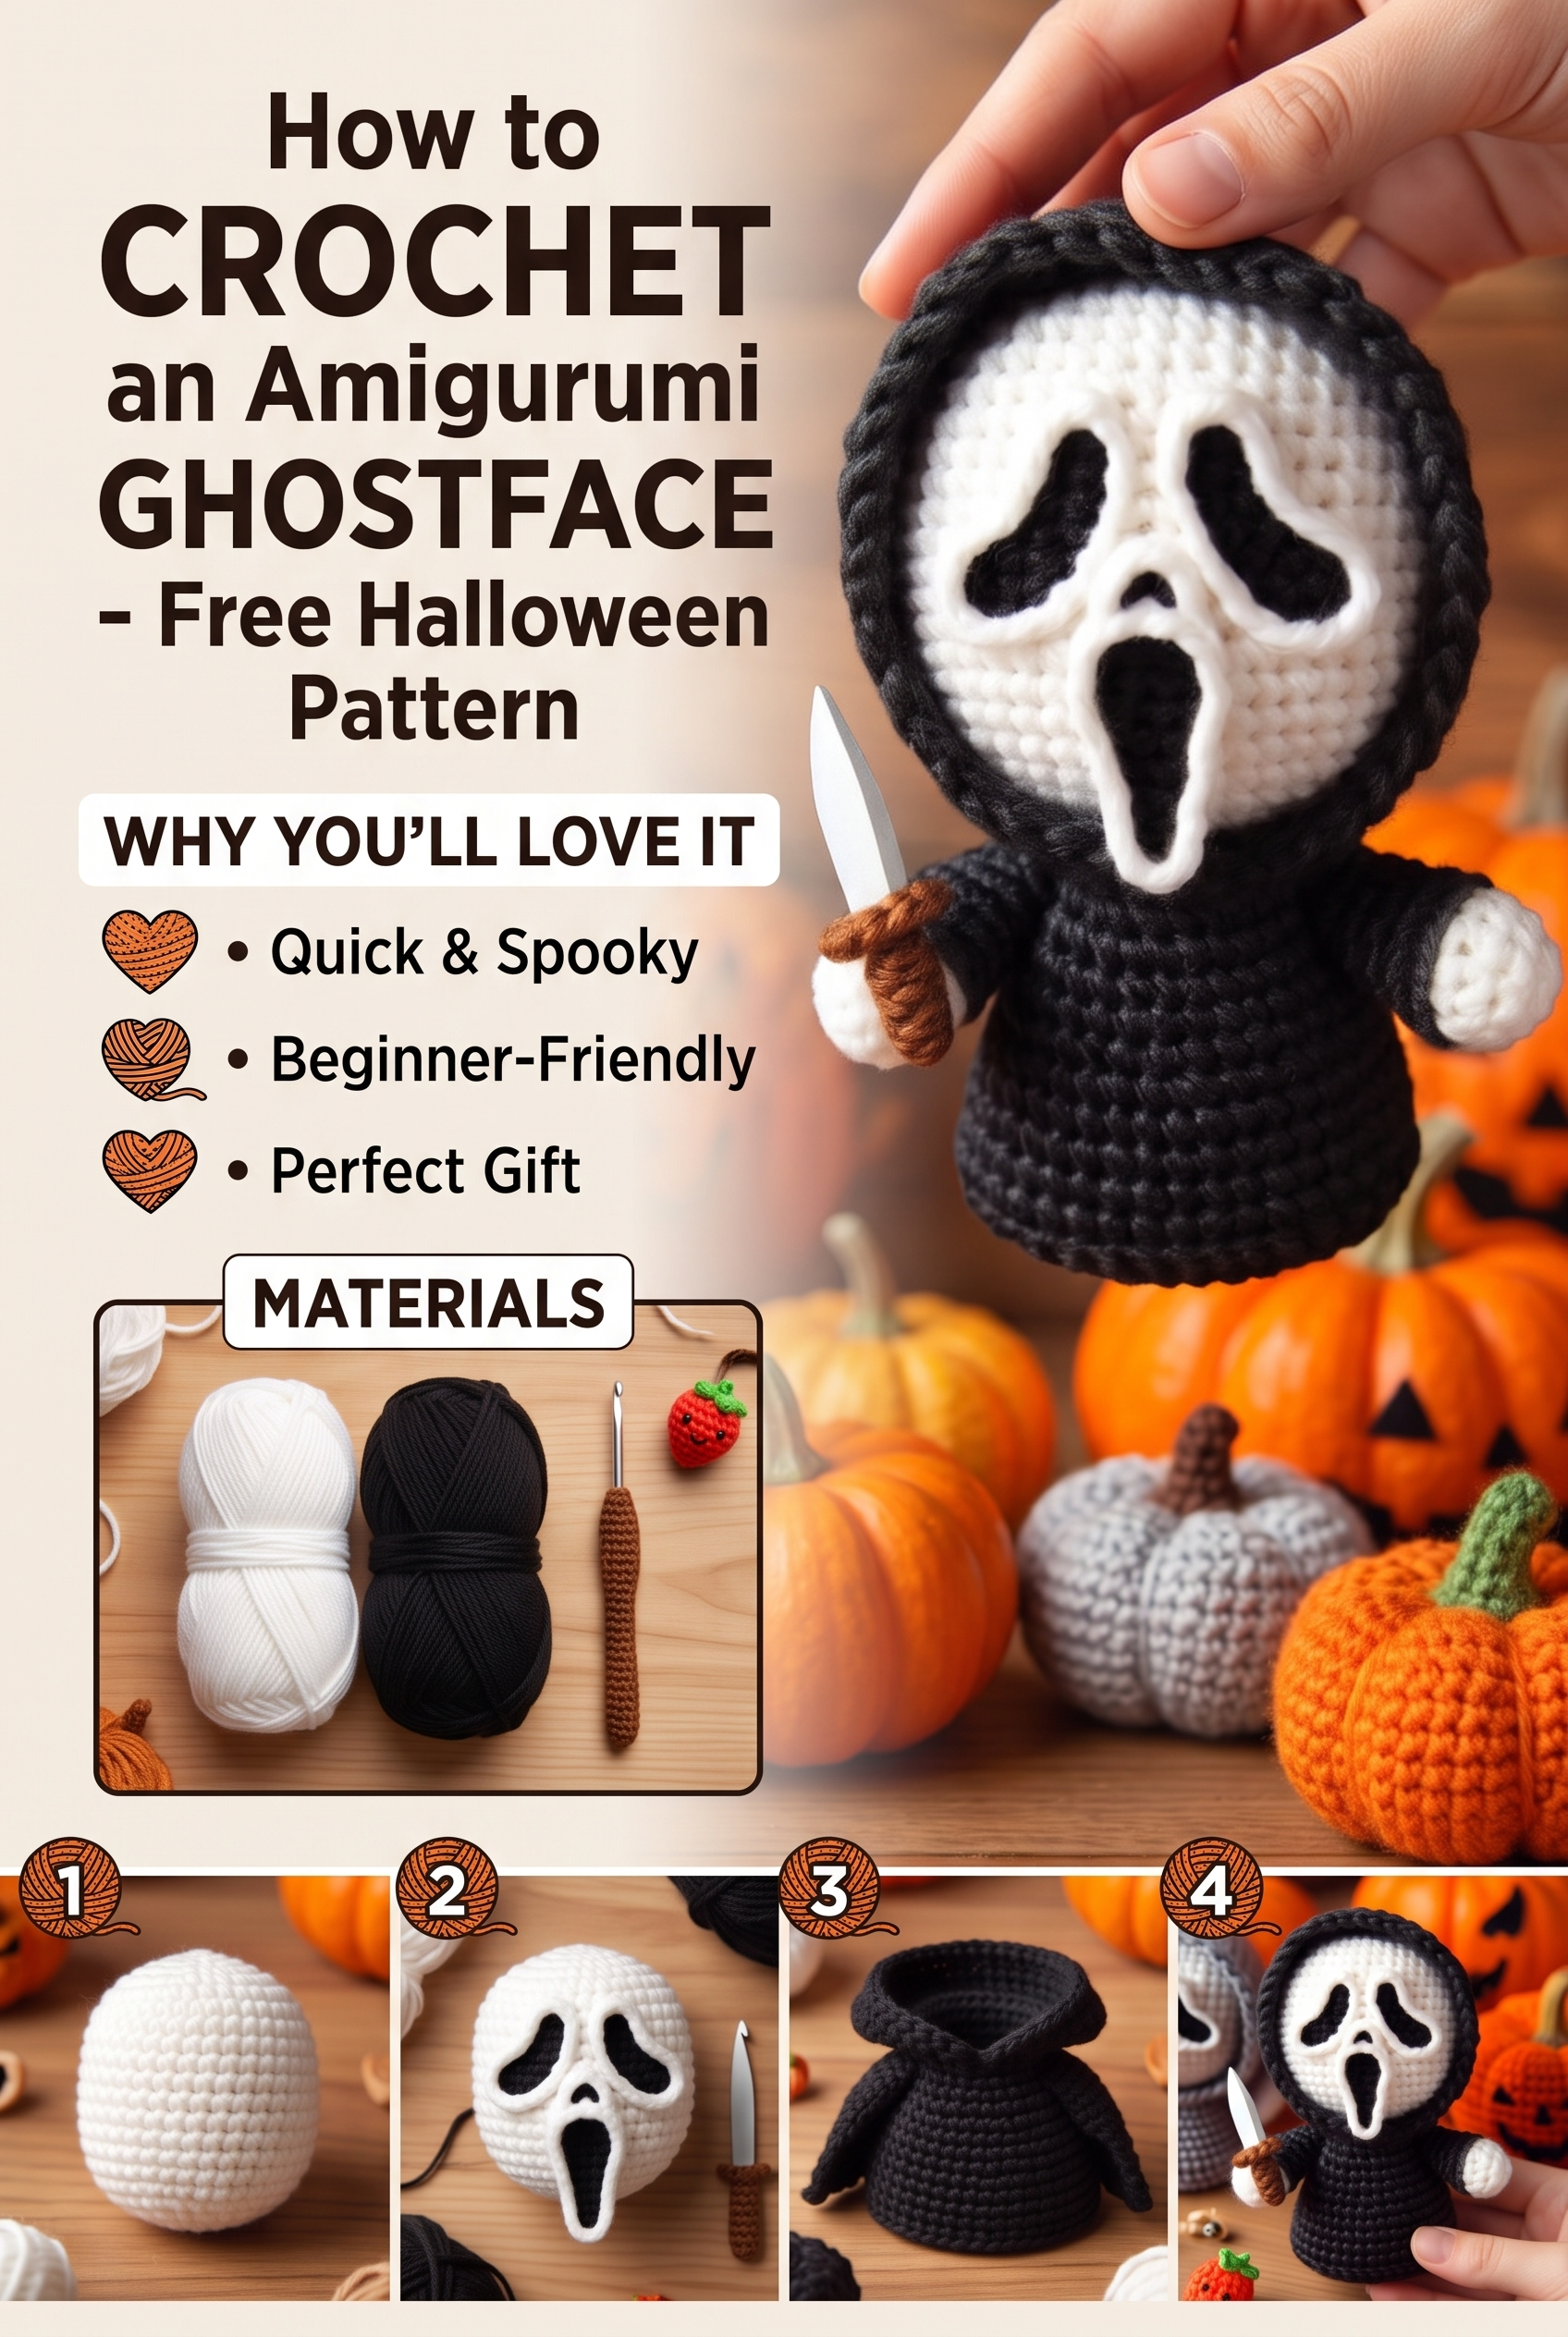
Spooky season is officially here, and what better way to celebrate than by whipping up your very own miniature horror icon? Meet our Amigurumi Ghostface—the perfect blend of spooky thrills and irresistible handmade cuteness!
Whether you are decorating your craft desk for Halloween, crafting a handmade bag charm for a horror enthusiast, or creating quick market makes, this free pattern is fast, beginner-friendly, and uses minimal yarn.
Pattern Details & Overview
- Skill Level: Confident Beginner (uses basic amigurumi stitches).
- Finished Size: Approx. 5 inches (13 cm) tall using recommended yarn.
- Working Style: Worked in continuous spiral rounds; do not join rounds unless specified.
- Estimated Time: 1 to 2 hours.
Materials & Tools
- Yarn: Worsted weight (Category 4) acrylic or cotton yarn in White (Head & hands) and Black (Robe, hood, facial details).
- Crochet Hook: 3.0 mm or 3.25 mm (US D/3 or E/4).
- Stuffing: Polyester fiberfill.
- Felt or Black Embroidery Thread: Small scraps of black felt for the eyes and drooping mouth (or black yarn for embroidery).
- Tools: Tapestry needle, scissors, stitch markers, and fabric glue (optional, if using felt).
Abbreviations (US Terms)
- MR: Magic Ring
- sc: single crochet
- inc: increase (2 sc in the same stitch)
- dec: invisible decrease
- sl st: slip stitch
- BLO: back loop only
- st(s): stitch(es)
Step-by-Step Pattern Instructions
1. The White Mask Head
Using White Yarn:
- Rnd 1: 6 sc into a MR (6)
- Rnd 2: inc in each st around (12)
- Rnd 3: [1 sc, inc] × 6 (18)
- Rnd 4: [2 sc, inc] × 6 (24)
- Rnd 5: [3 sc, inc] × 6 (30)
- Rnds 6–11: sc in each st around (30)
- Rnd 12: [3 sc, dec] × 6 (24)
- Rnd 13: [2 sc, dec] × 6 (18) — Stuff firmly with fiberfill.
- Rnd 14: [1 sc, dec] × 6 (12)
- Rnd 15: dec × 6 (6)
- Fasten off, weave tail through front loops, and pull tight to close.
2. The Robe Body
Using Black Yarn:
- Rnd 1: 6 sc into a MR (6)
- Rnd 2: inc in each st around (12)
- Rnd 3: [1 sc, inc] × 6 (18)
- Rnd 4: [2 sc, inc] × 6 (24)
- Rnd 5: [3 sc, inc] × 6 (30)
- Rnd 6: In BLO, sc in each st around (30)
- Rnds 7–13: sc in each st around (30)
- Rnd 14: [3 sc, dec] × 6 (24)
- Rnd 15: sc in each st around (24)
- Rnd 16: [2 sc, dec] × 6 (18)
- Stuff lightly, fasten off, and leave a long tail for attaching to the head.
3. The Draped Hood
Using Black Yarn:
- Rnd 1: 6 sc into a MR (6)
- Rnd 2: inc in each st around (12)
- Rnd 3: [1 sc, inc] × 6 (18)
- Rnd 4: [2 sc, inc] × 6 (24)
- Rnd 5: [3 sc, inc] × 6 (30)
- Rnd 6: [4 sc, inc] × 6 (36)
- Rnds 7–12: sc in each st around (36)
- Row 13: Ch 1, turn, sc 28 sts (leaves opening for front of face). Turn.
- Rows 14–15: Ch 1, sc across 28 sts. Fasten off, leaving a tail to stitch around the cowl.
4. The Arms (Make 2)
Start with White yarn:
- Rnd 1: 5 sc into MR (5)
- Rnd 2: sc in each st (5). Switch to Black yarn:
- Rnds 3–7: sc in each st (5). Fasten off, leaving a tail to attach to body.
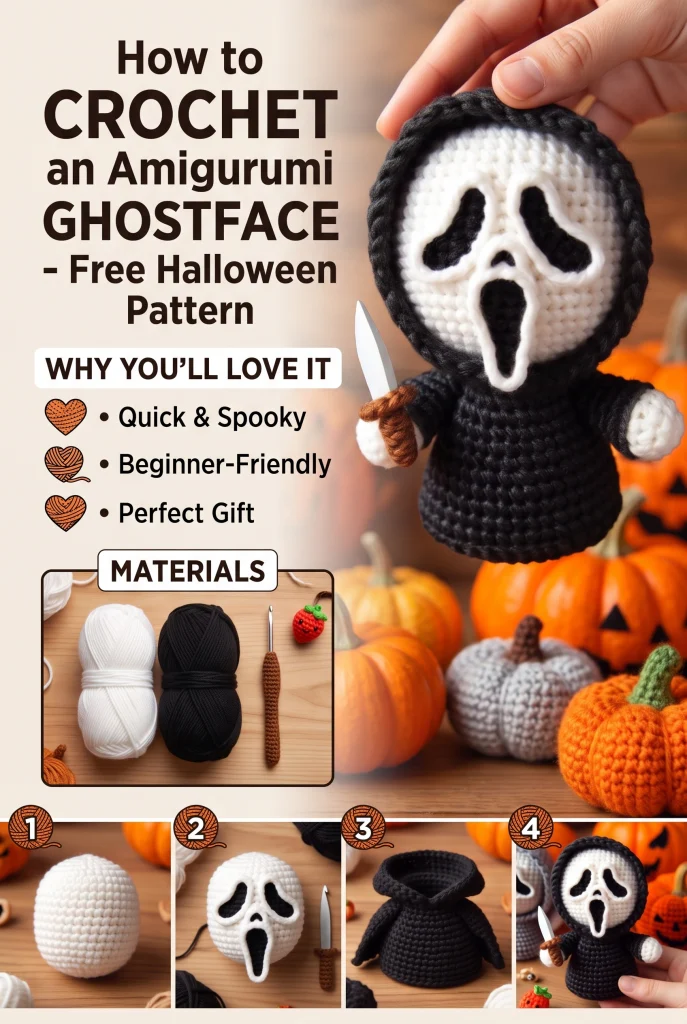
Facial Details & Assembly
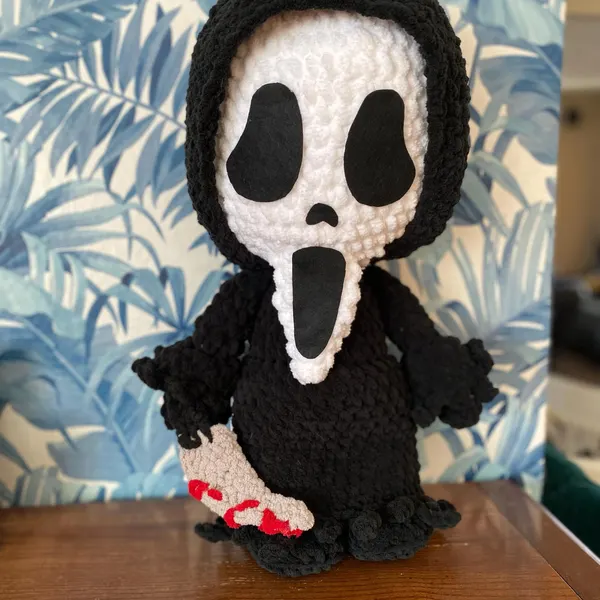
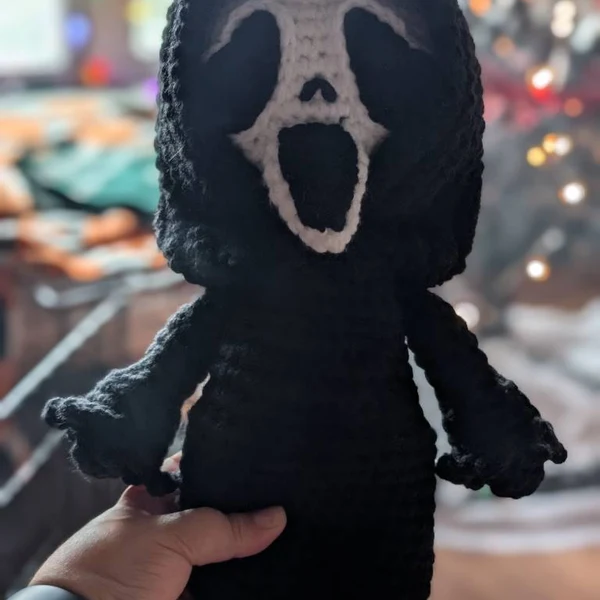
- Facial Expression: Cut out elongated tear-drop shapes for the hollow eyes and a long, drooping oval for the iconic mouth using black felt. Attach with fabric glue or embroider using black yarn. Add two small vertical dashes for the nostrils.
- Hood Attachment: Slide the black hood over the back and sides of the white head, framing the mask nicely. Secure with small neat stitches.
- Joining: Stitch the head onto the robe body firmly using your tapestry needle, and attach both arms along Row 15 of the body.
- Final Spooky Touch: Add a felt toy knife or loop a keychain ring through the top of the hood.
Did you make this spooky plush? Pin this pattern to your Pinterest Halloween board and share your finished makes with us!