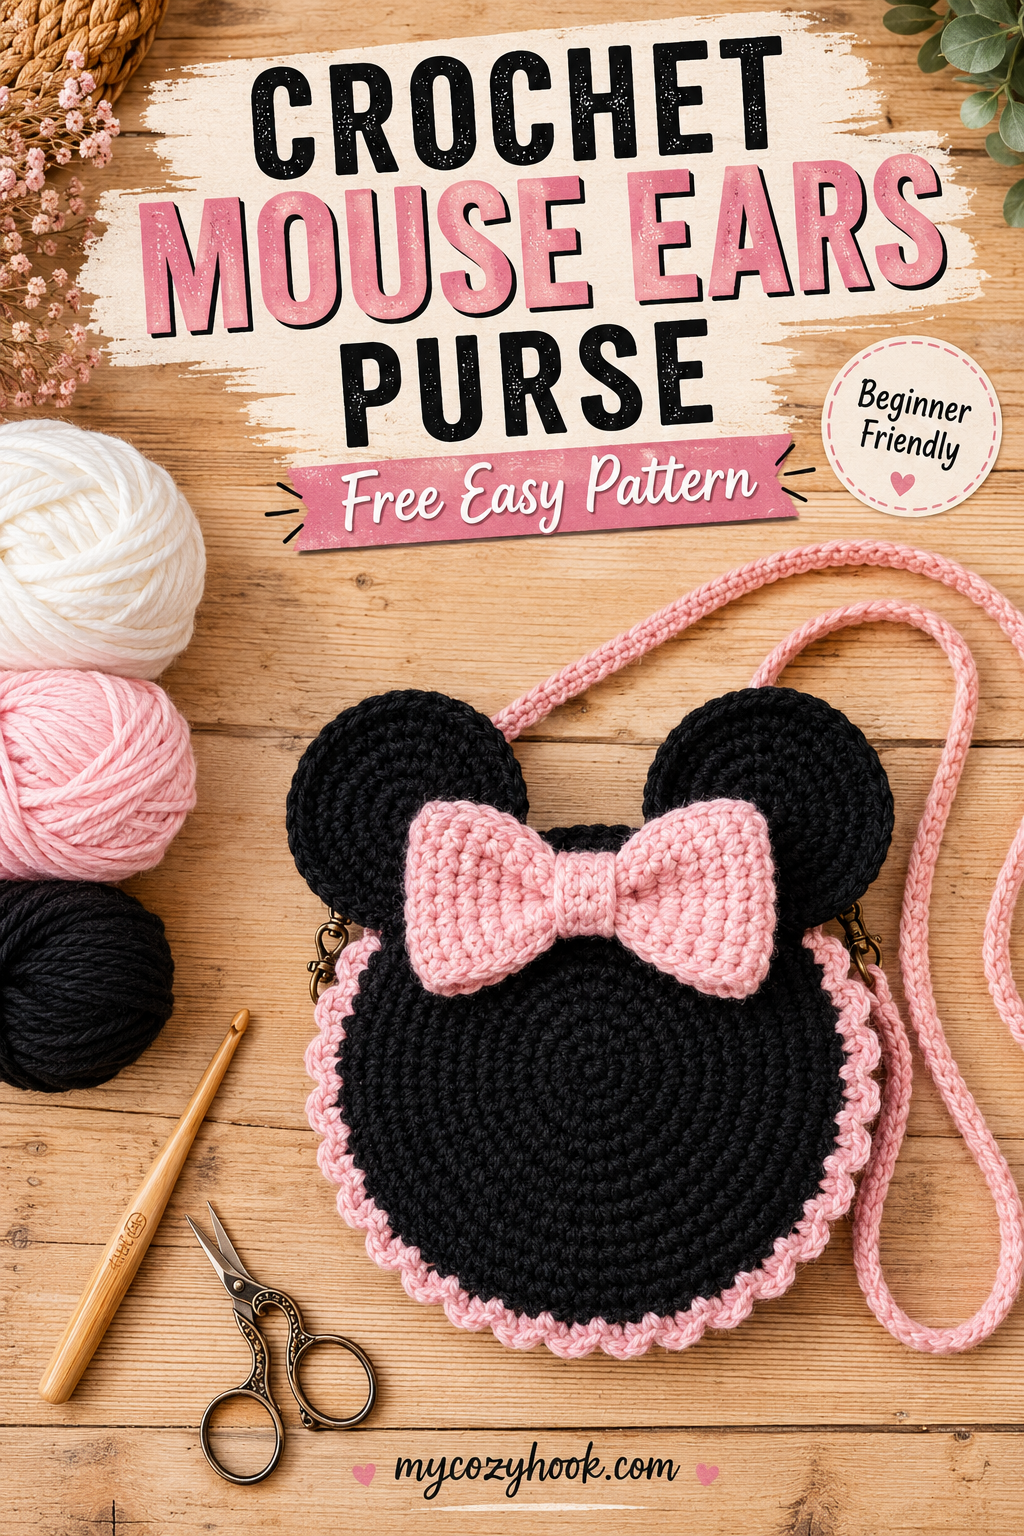
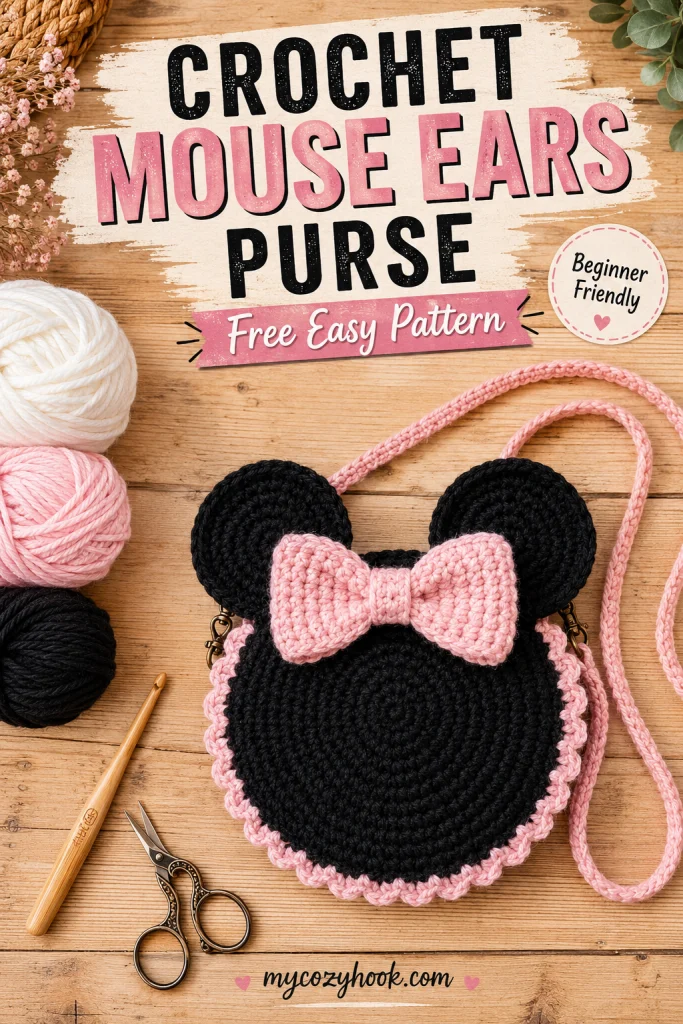
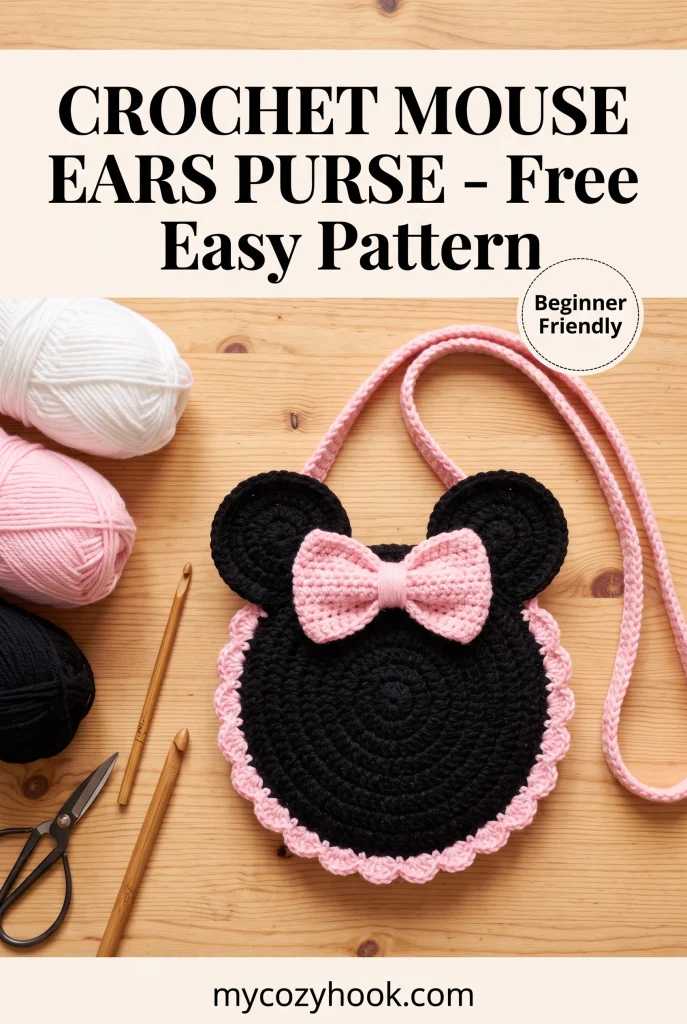
Nothing brings more handmade charm than a whimsical, cartoon-inspired accessory. This Crochet Mouse Ears Purse is cute, practical, and beginner-friendly. Complete with iconic rounded ears, a delicate contrast scalloped border, and a pastel pink bow, it makes a memorable handmade gift for toddlers, kids, or anyone packing for a magical theme park trip.
Whether crafting for spring outings, birthday gifts, or craft fairs, this step-by-step pattern breaks down every round, stitch count, and assembly tip clearly.
Why You Will Love Making This Purse
- Beginner-Friendly Construction: Built primarily using simple double crochet circles and basic joining techniques.
- Low Yarn Requirement: Uses less than two full skeins in total, making it an affordable stash-busting project.
- Functional & Sturdy: Made with durable cotton or tightly spun acrylic yarn so the purse keeps its shape without stretching out when holding small toys, snacks, or lip balm.
- Easily Customizable: Swap the pink bow for classic red with white polka dots, or leave off the bow entirely for an everyday neutral character tote.
Pattern Specifications
- Skill Level: Easy / Advanced Beginner
- Finished Size: Approx. 8.5 inches (21.5 cm) across the main body circle, 11 inches (28 cm) wide including both ears, with a 30-inch (76 cm) shoulder strap.
- Gauge: 14 dc sts x 7 rows = 4 inches (10 cm) using a 4.5 mm hook (gauge is not critical, but keeping tension tight prevents items poking through).
- Terminology: Standard US Crochet Terms.
Materials & Tools Needed
- Yarn: Worsted Weight Cotton or Acrylic (Category 4)
- Color A (Black): Approx. 140 yards / 130 meters (Main body panels & ears).
- Color B (Baby Pink): Approx. 60 yards / 55 meters (Strap, bow, & border edging).
- (Optional: White yarn if adding embroidered polka dots on the bow).
- Crochet Hook: Size 4.5 mm (US 7) or 4.0 mm (US G/6) to ensure dense, gap-free stitches.
- Notions:
- Large-eye tapestry needle
- Sharp scissors
- Stitch markers (essential for aligning panels)
- Tape measure
- 1 magnetic snap fastener or 1-inch wooden button (optional for closure)
Prefer a Visual Walkthrough?
If you are a visual learner, watch this step-by-step video tutorial by Crochet Jewel below to see every stitch, the magic ring, and assembly in action:
Crochet Abbreviations (US Terms)
- ch: chain
- sc: single crochet
- hdc: half double crochet
- dc: double crochet
- sl st: slip stitch
- MR: magic ring (or chain 4, join with sl st to form a ring)
- st(s): stitch(es)
- inc: increase (work 2 sts into the same stitch)
- BLO: back loop only
Detailed Stitch Guidelines
- Magic Ring (MR): Creates a tightly cinched center so coins or keys cannot slip through the center of the purse panels.
- Turning Chains: In this pattern, the initial
ch 2at the start of each round counts as a stitch unless stated otherwise. Always slip stitch into the top of this chain to close the round seamlessly.
Step-by-Step Instructions
Part 1: Main Circular Panels (Make 2 – Front & Back)
Using Color A (Black yarn):
- Round 1: Start with a MR. Ch 2 (counts as 1st dc), work 11 dc into the ring. Sl st to top of starting ch-2 to join. (12 sts)
- Round 2: Ch 2, 1 dc into the base of the chain. Work 2 dc into each remaining st around. Sl st to join. (24 sts)
- Round 3: Ch 2, 1 dc into same st. 1 dc into next st, 2 dc into following st. Repeat from * to * around. End with 1 dc in last st. Sl st to join. (36 sts)
- Round 4: Ch 2, 1 dc into same st. 1 dc in each of next 2 sts, 2 dc into following st. Repeat from * to * around. End with 1 dc in each of last 2 sts. Sl st to join. (48 sts)
- Round 5: Ch 2, 1 dc into same st. 1 dc in each of next 3 sts, 2 dc into following st. Repeat from * to * around. End with 1 dc in each of last 3 sts. Sl st to join. (60 sts)
- Round 6: Ch 2, 1 dc into same st. 1 dc in each of next 4 sts, 2 dc into following st. Repeat from * to * around. End with 1 dc in each of last 4 sts. Sl st to join. (72 sts)
For Panel 1 (Back Panel): Fasten off, leaving a short tail, and weave it in securely.
For Panel 2 (Front Panel): Do not fasten off. We will use this edge later or fasten off leaving a long joining tail.
Part 2: The Mouse Ears (Make 4 Circles Total)
To give the ears sturdy posture without folding over, you will make 4 circles and crochet them together in pairs (2 for the front, 2 for the back).
Using Color A (Black yarn):
- Round 1: Start with a MR. Ch 2, work 11 dc into the ring. Sl st to join. (12 sts)
- Round 2: Ch 2, 1 dc into same st. Work 2 dc in each st around. Sl st to join. (24 sts)
- Round 3: Ch 2, 1 dc into same st. 1 dc in next st, 2 dc in following st. Repeat from * to * around. Sl st to join. (36 sts)
Assembly of Each Ear Pair:
- Place two ear circles wrong sides together.
- Join Black yarn through both layers with a sl st.
- Work 1 sc evenly through both loops of both layers all the way around to bond them into a rigid double-thick circle. Fasten off, leaving a 12-inch tail for sewing.
- Repeat for the second ear.
Part 3: Assembling the Body & Ear Placement
- Ear Attachment: Place the Front circular panel flat. Using stitch markers, identify the top opening where hands will reach into the bag (leave roughly 22–24 stitches unworked across the center top).
- Position one ear to the left and one to the right of this opening, overlapping each ear roughly 5–6 stitches deep onto the main circle.
- Using your tapestry needle and the long yarn tails, stitch the ears firmly onto the front panel along the overlapping base arc. Repeat alignment on the back panel so both sides match.
- Joining Front and Back Panels:
- Place Front and Back assemblies with wrong sides facing inward.
- Pin the panels together, ensuring the unworked top opening matches (approx. 20–24 sts open).
- Using Color A, join yarn at one side of the top opening. Single crochet through both layers around the outer perimeter of the body and outer rim of the ears, stopping at the opposite side of the top opening.
- Fasten off and weave in ends.
Part 4: The Pink Contrast Edging (Border)
Using Color B (Baby Pink yarn):
- Attach Pink yarn with a sl st at any side of the purse seam.
- Decorative Scalloped Border: Ch 1, skip 1 st, sl st in next st. Repeat this simple ripple sequence all along the outer border, running along the sides, around the perimeter of the ears, and along the front and back rim of the purse opening.
- This frames the black yarn crisply while hiding raw assembly seams. Fasten off and weave in ends.
Part 5: The Center Accent Bow
Using Color B (Baby Pink yarn):
The bow is worked in flat turning rows of textured stitches:
- Foundation: Ch 17.
- Row 1: Sc in 2nd ch from hook and each ch across. Ch 1, turn. (16 sts)
- Row 2: Hdc in each st across. Ch 1, turn. (16 sts)
- Rows 3–10: Repeat Row 2 until the rectangle measures approx. 4.5 inches wide by 2.5 inches tall.
- Border: Sc evenly around all four sides of the rectangle, placing
(sc, ch 1, sc)in each corner. Fasten off and weave in ends.
Bow Center Wrap:
- Cut a 24-inch piece of Pink yarn.
- Pinch the center of your crochet rectangle accordion-style into three neat folds.
- Wrap the yarn tail tightly around the pinched center 15–20 times until a plump middle knot forms. Tie a secure knot at the back, leaving long tails to sew onto the purse.
- Stitch the bow centered directly between the base of both mouse ears on the front panel.
Part 6: Crossbody Strap
Using Color B (Baby Pink yarn):
- Row 1: Leaving a 10-inch tail for sewing, ch 6.
- Row 2: Sc in 2nd ch from hook and in each st across. Ch 1, turn. (5 sts)
- Row 3: Working in BLO for stretch resistance, sc across 5 sts. Ch 1, turn. (5 sts)
- Rows 4–110 (or until strap reaches approx. 30–34 inches): Continue working 5 sc in BLO per row.
- Fasten off, leaving a long sewing tail.
- Sew one end of the strap firmly inside the left seam opening of the bag, and the other end inside the right seam opening using a tapestry needle with tight whipstitches.
Tips for a Clean Finish
- Prevent Strap Stretching: Crochet straps naturally stretch when weighted. Making the strap slightly shorter than needed (e.g., 28–30 inches for children) allows it to stretch to the ideal hanging length without drooping to the knees.
- Lining the Purse (Optional): If gifting to small children who might carry pencils, coins, or small hairclips, trace the circular panel onto cotton calico fabric, cut two circles with 0.5-inch seam allowance, sew them together, and whipstitch the liner inside the purse opening.
- Blocking the Bow: Lightly steam the bow using an iron held 2 inches away before attaching to ensure the ribbon ends sit flat against the body.
Frequently Asked Questions (FAQ)
Can I wash this purse?
Yes. Hand-wash gently in lukewarm water using mild detergent. Reshape the circular body and ears flat on a clean dry towel and allow it to air-dry completely. Do not machine dry.
How long does this project take to make?
Because it uses simple double crochet rounds, a confident beginner can complete the entire project—from circles to bow assembly—in about 3 to 4 hours.
How do I make the ears stay upright without drooping?
Working with a smaller hook size (like 4.0 mm) with worsted yarn creates a tight gauge that naturally stands upright. Doubling the ear layers as instructed in Part 2 prevents flopping.