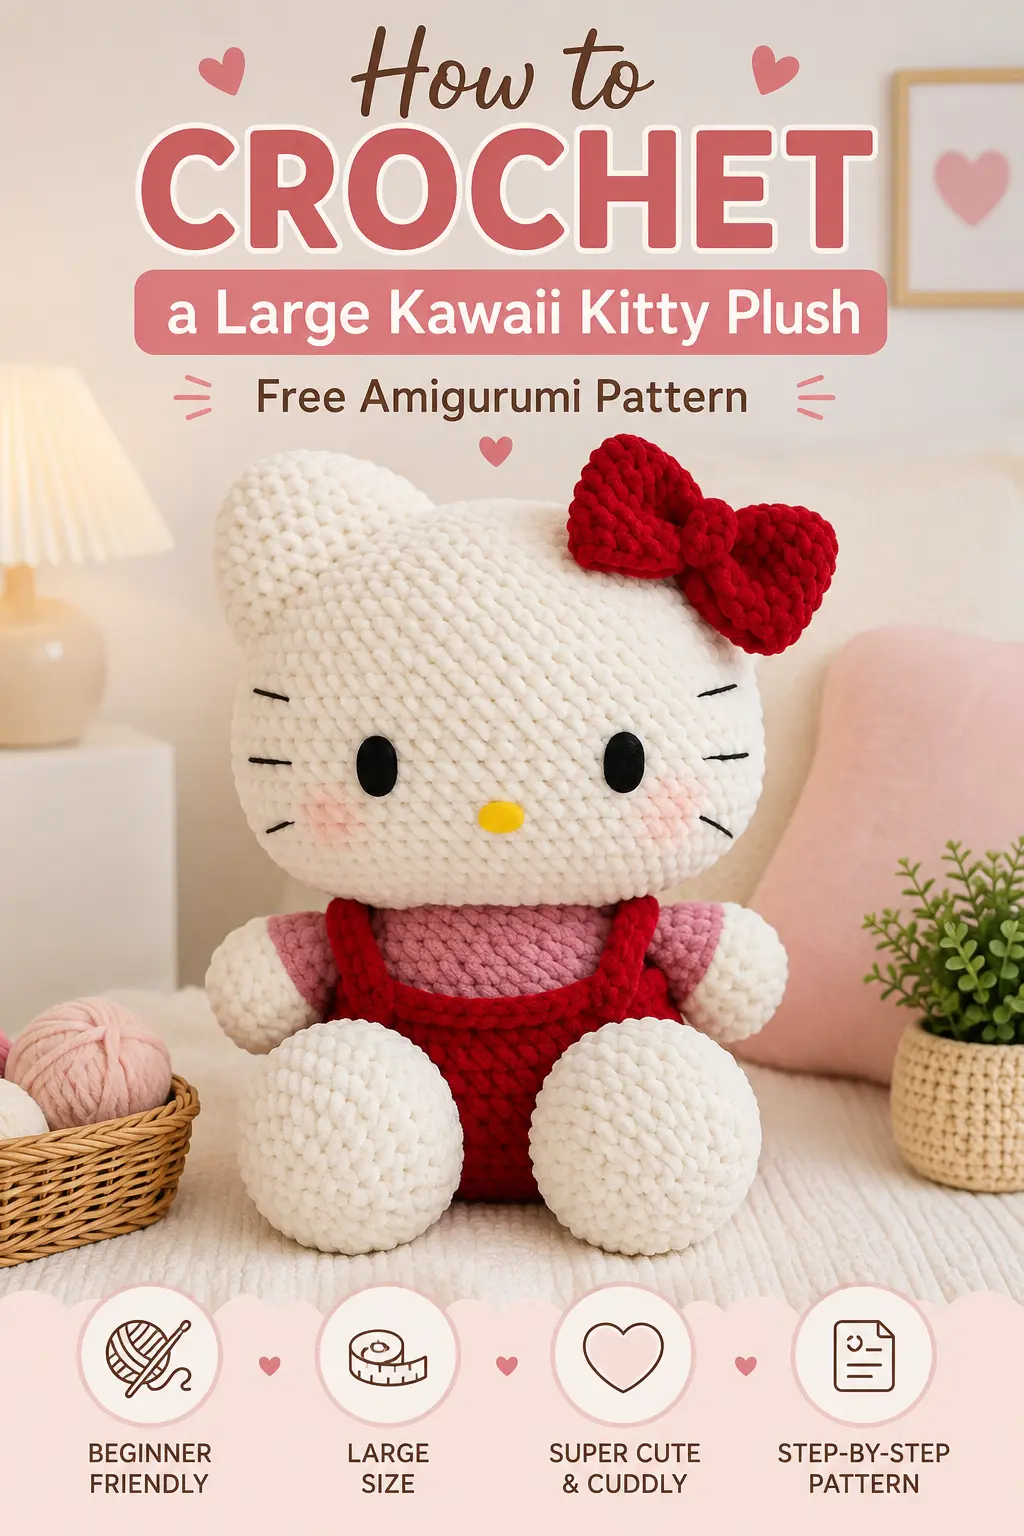
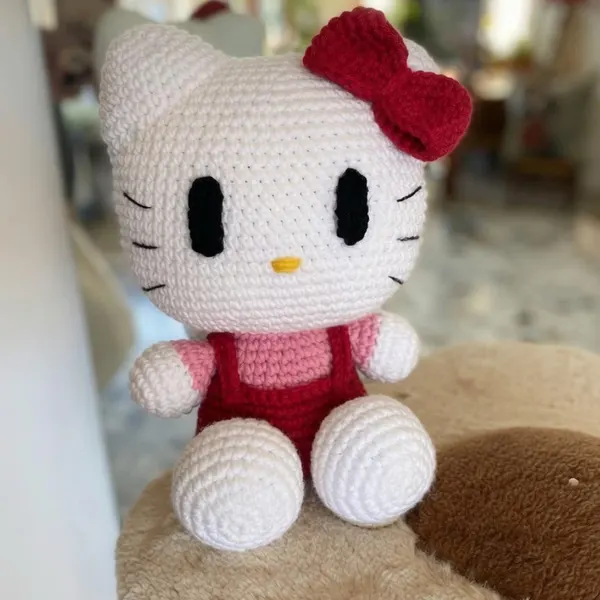
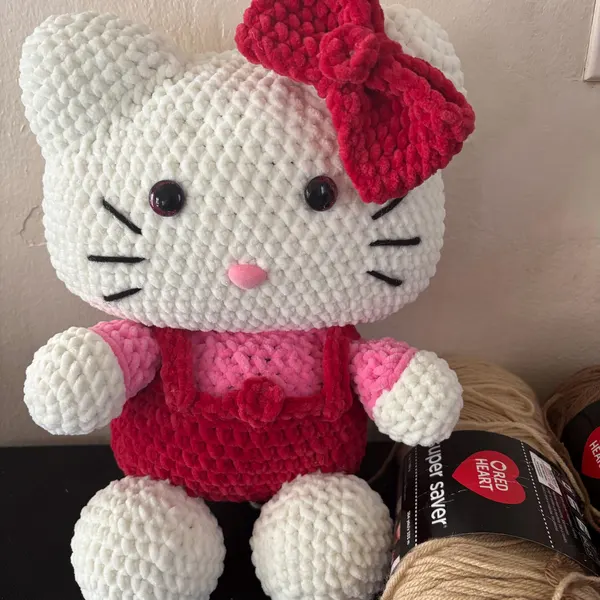
Bring home the sweetness with this adorable Large Kawaii Kitty Amigurumi Plush! Featuring her signature round face, cute pointed ears, classic dress, and an oversized pink bow, this charming feline companion makes a timeless gift for crafters of all ages.
Standing approximately 10 to 11 inches tall when completed with medium weight yarn, this plushie is huggable, sturdy, and wonderfully rewarding to stitch.
Materials & Tools
- Yarn: Medium worsted weight (#4) or plush chunky chenille (#5) in:
- White (Head, Ears, Arms, Legs)
- Pastel Pink or Red (Dress body & Hair bow)
- Yellow scrap (Embroidered nose)
- Black embroidery floss or thin yarn (Whiskers & Eyes)
- Crochet Hook: 3.5 mm (US E/4) or 4.0 mm (US G/6).
- Safety Eyes: 12mm oval/round black safety eyes (or felt ovals).
- Stuffing: Premium polyester fiberfill.
- Notions: Stitch marker, tapestry needle, and scissors.
Pattern Notes & Abbreviations (US Terms)
- Skill Level: Easy / Intermediate.
- Method: Worked in continuous spirals (do not join rounds unless specified). Use a stitch marker to keep track of the first stitch.
- Abbreviations:
- MR: Magic Ring
- CH: Chain
- SC: Single Crochet
- INC: Increase (2 SC in one stitch)
- DEC: Invisible Decrease (SC 2 together)
- BLO: Back Loop Only
- SL ST: Slip Stitch
- FO: Fasten Off
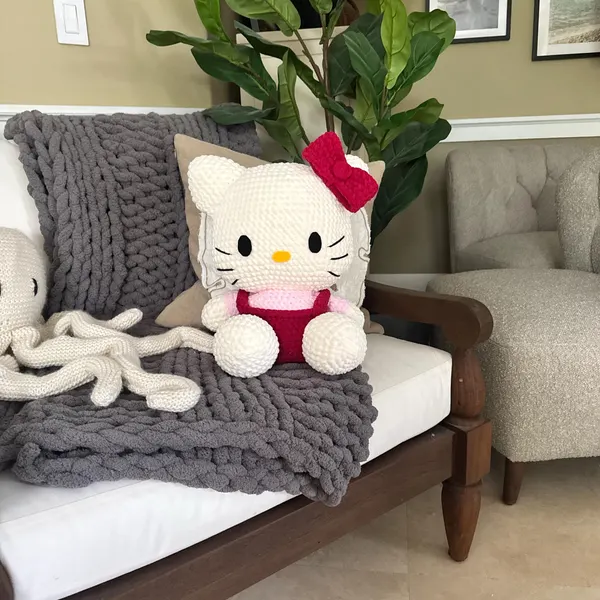
Step-by-Step Instructions
1. Head (White Yarn)
The head is slightly oval-shaped, worked from top to bottom:
- Rnd 1: 6 SC in a MR (6)
- Rnd 2: INC in each st around (12)
- Rnd 3: (1 SC, INC) x 6 (18)
- Rnd 4: (2 SC, INC) x 6 (24)
- Rnd 5: (3 SC, INC) x 6 (30)
- Rnd 6: (4 SC, INC) x 6 (36)
- Rnd 7: (5 SC, INC) x 6 (42)
- Rnds 8–17: SC in each st around (42 sts for 10 rounds)
- Insert safety eyes between Rnds 12 and 13, spaced about 8 to 9 stitches apart. Embroider a small yellow oval nose centered between the eyes.
- Rnd 18: (5 SC, DEC) x 6 (36)
- Rnd 19: (4 SC, DEC) x 6 (30)
- Rnd 20: (3 SC, DEC) x 6 (24)
- Stuff the head firmly with polyester filling.
- Rnd 21: (2 SC, DEC) x 6 (18)
- Rnd 22: (1 SC, DEC) x 6 (12)
- Rnd 23: DEC x 6 (6)
- FO, cinch opening tightly closed, and weave in tail.
2. Ears (Make 2 – White Yarn)
- Rnd 1: 6 SC in a MR (6)
- Rnd 2: (1 SC, INC) x 3 (9)
- Rnd 3: (2 SC, INC) x 3 (12)
- Rnd 4: (3 SC, INC) x 3 (15)
- Rnd 5: (4 SC, INC) x 3 (18)
- FO, leaving a 10-inch tail for sewing. Flatten ears without stuffing.
3. Legs & Body
Make 2 Legs in White:
- Rnd 1: 6 SC in a MR (6)
- Rnd 2: INC in each st around (12)
- Rnd 3: (1 SC, INC) x 6 (18)
- Rnds 4–6: SC in each st around (18)
- Fasten off Leg 1. Do NOT cut yarn on Leg 2.
Joining Legs & Body:
- Rnd 7: On Leg 2, CH 2, join to Leg 1 with a SC, 17 SC around Leg 1, 2 SC along chain bridge, 18 SC around Leg 2, 2 SC on opposite side of chain (40 sts).
- Rnds 8–10: SC around in White (40)
- Switch to Pink/Red yarn for dress:
- Rnds 11–15: SC around (40)
- Rnd 16: (6 SC, DEC) x 5 (35)
- Rnd 17: SC around (35)
- Rnd 18: (5 SC, DEC) x 5 (30)
- Rnd 19: Working in BLO: SC around (30) (leaves front loops for skirt ruffle)
- Rnd 20: (3 SC, DEC) x 6 (24)
- Rnd 21: (2 SC, DEC) x 6 (18)
- Stuff the body firmly. FO leaving a long tail to attach head.
- Skirt Ruffle: Join Pink yarn into unused front loops of Rnd 19: CH 2, work 2 DC in each loop around. SL ST to start and FO.
4. Arms (Make 2)
Start in White:
- Rnd 1: 6 SC in a MR (6)
- Rnd 2: (1 SC, INC) x 3 (9)
- Rnds 3–7: SC around (9)
- Switch to Pink/Red yarn:
- Rnds 8–10: SC around (9)
- Lightly stuff bottom half only. Press top flat, 4 SC across top to close. FO with sewing tail.
5. Signature Bow (Pink Yarn)
- CH 16. Starting in 2nd ch from hook, SC across (15).
- Rows 2–7: CH 1, turn, SC across (15). FO.
- Pinch the rectangle in the center. Wrap a 15-inch strand of yarn tightly around the middle multiple times to create the bow shape. Knot securely.
Assembly & Whiskers
- Sew Ears: Position ears between Rnds 4 and 9 on each side of the head, tilted slightly outward.
- Attach Head to Body: Center the head over the neck opening and stitch securely through both pieces.
- Attach Arms: Sew the arms just under the neckline on each side of the body.
- Add Whiskers: Using black yarn and a needle, stitch three clean horizontal whisker lines on each cheek.
- Attach Bow: Stitch the pink bow in front of the right ear.
Your cozy handmade kitty plushie is ready for hugs and display! Share your finished project with us using #MyCozyHook.