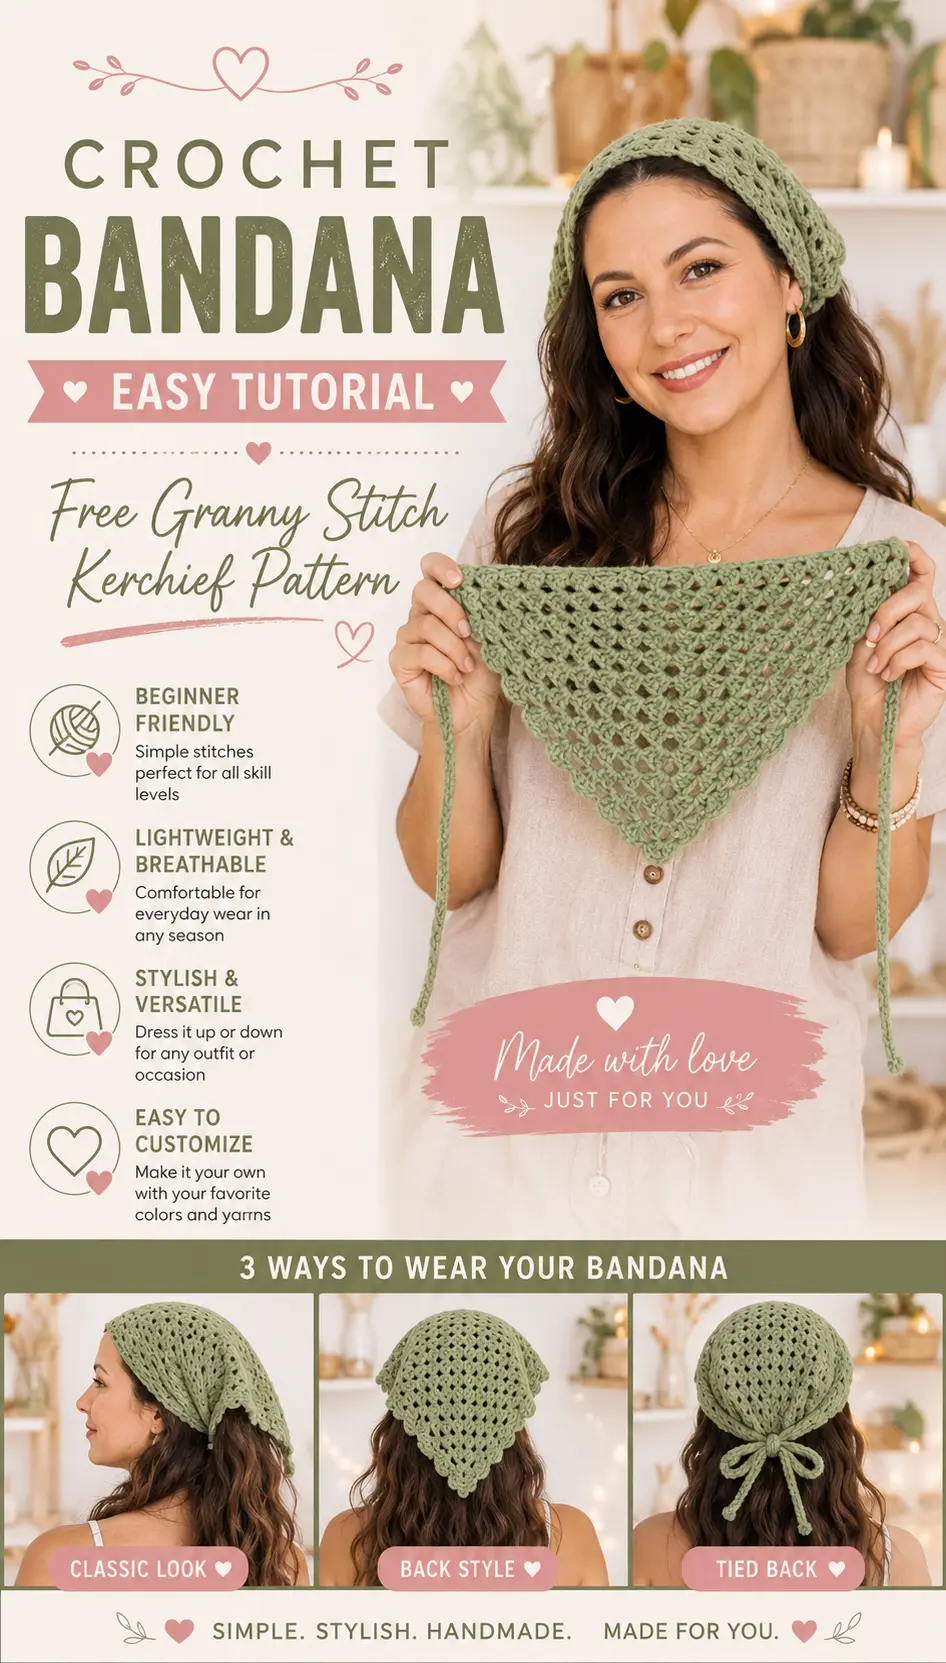
Channel effortless cottagecore vibes with this charming, retro-inspired Crochet Bandana! Whether you are heading to a sunny farmer’s market, styling a casual festival outfit, or keeping bad hair days at bay, this lightweight kerchief is the ultimate summer accessory.
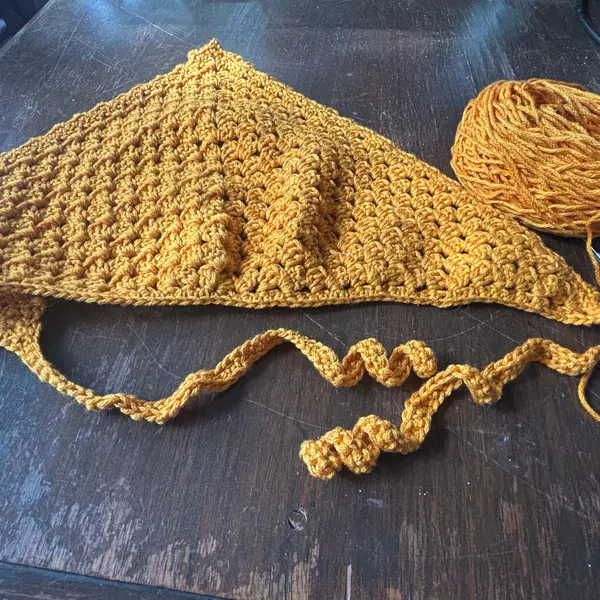
Constructed using the classic Granny Stitch in a growing triangle, this project works up in under an hour. Because the ties are crocheted continuously with the top border, there are almost zero loose ends to weave in when you are done!
Materials & Tools
- Yarn: Approx. 50–60g of Lightweight (#2 Fine) or DK (#3) Cotton Yarn. Cotton provides breathability, drape, and durability against the scalp.
- Crochet Hook: 3.75 mm (US F/5) or 4.0 mm (US G/6).
- Notions: Tapestry needle, measuring tape, and scissors.
Pattern Overview & Sizing
- Skill Level: Confident Beginner.
- Finished Dimensions: Triangle measures approx. 17 inches (43 cm) wide across the top edge and 8.5 inches (22 cm) from top to bottom point (excluding ties).
- Abbreviations (US Terms):
- MR: Magic Ring
- CH: Chain
- DC: Double Crochet
- CH-SP: Chain Space
- SL ST: Slip Stitch
- SK: Skip
Step-by-Step Instructions
1. The Triangle Base (Granny Stitch Method)
- Row 1: In a MR, CH 4 (counts as 1 DC + CH 1). Work 3 DC into the ring, CH 2 (corner point), 3 DC, CH 1, 1 DC. Pull center tail tightly. CH 4, turn.
- Row 2: Work 3 DC into the first CH-1 space, CH 1. In the center CH-2 corner, work: [3 DC, CH 2, 3 DC]. CH 1, work [3 DC, CH 1, 1 DC] into the turning chain space at the end. CH 4, turn.
- Row 3: Work 3 DC into the first CH-1 space, CH 1. Work 3 DC into the next CH-1 space, CH 1. In the corner space, work: [3 DC, CH 2, 3 DC]. CH 1, work 3 DC into the next CH-1 space, CH 1. Work [3 DC, CH 1, 1 DC] into the ending turning chain space. CH 4, turn.
- Rows 4–15: Repeat the pattern across: work 3 DC + CH 1 into every side chain space, and [3 DC, CH 2, 3 DC] into the center point. End each row with [3 DC, CH 1, 1 DC] in the final turning space.
- Note: Stop whenever the triangle reaches your desired width across the forehead. Do not cut the yarn!
2. The Seamless Top Border & Ties
Without fastening off, proceed directly to create the first tie string and neat top trim:
- First Tie: CH 50 (or desired tie length). Starting in 2nd CH from hook, SL ST in each chain back to the edge of the bandana.
- Top Edge Finishing: Work Single Crochets (SC) evenly across the long flat edge of the bandana to clean up the raw turning stitches (approx. 2 SC per row edge).
- Second Tie: When you reach the opposite corner, CH 50. Work SL ST in each chain back toward the corner.
- SL ST into the corner stitch to lock, cut yarn leaving a small tail, and weave it in securely.
Styling Tips
Tie the band under your hair for a classic 70s look, or wear it over a low ponytail or loose waves for a relaxed, romantic finish. Block with light steam to give the stitches a crisp, flat finish.
Ready to wear your lovely make? Snap a selfie and share it with the community using #MyCozyHook!